

With so many options for streaming and viewing films from the comfort of one’s living room, a large portion of people is investing in their home theater setups. Ceiling-mounted projectors, architect-designed surround sound, couch seating, popcorn machines and mini-refrigerators stocked with every flavor of La Croix under the sun. Honestly, it is becoming more and more difficult to find reasons to leave the comfort of one’s own living room…

And it is no wonder why: the competition is becoming stiff for movie theaters and companies such as MoviePass. According to an article published by Variety, the average ticket of a ticket to the movie theater is up to $9.38, which is a 22 cent bump up from the $9.16 tickets cost at the beginning of 2018. Part of this rise can be attributed to the rise of monthly ticketing services such as MoviePass, which asks users for $10 a month to visit a select number of theaters for a limited number of times. Restrictions are placed on subscribers (and the restrictions are really booting the boot to the neck of the company, according to this latest article by Forbes’), so if you have been enjoying your MoviePass make the most out of it on your Hinge dates before the guillotine falls down on those little red plastic cards!

Once that inevitability becomes a reality and you are forced to limit your theater visits due to budget restraints, take the money you would have spent on MoviePass and invest it in your very own home theater. The following article is a quick breakdown of how we did this with a few supplies from Home Depot and a couple lucky snags off Craigslist and Facebook Marketplace. So grab your recycled butter-stained popcorn buckets, Coconut La Croix, and take some pointers on how to turn your oppressing, dark cave of a living room into the next hip-flick-show Alamo Drafthouse…

Table of Contents
Planning Your Home Theater
Understanding the geography of the space where you intend to have your entertainment area is the first step you take, before buying any materials. Mapping out the seating, where electrical cords for speakers and the projector will run, and landing on a wall on which to mount your projector screen will establish the flow of the room. Aspects that may seem insignificant at first will end up playing a larger role later, such as where the light sources are located in the room (both natural light as well as arranged lighting).
You can only control so many qualities in the room, so be aware of where your electrical outlets and windows are located. But once you have a general idea of the geographic layout you intend to establish, your next step is to research projectors and sound equipment. If you’ve already procured these items then obviously skip ahead to the “Materials” section. Otherwise, we have provided some tips that can assist you with finding some affordable options.
Projector and Sound System
When looking for the right projector, take into consideration how much natural light enters your room and how much time you intend to spend watching programs during the daytime. This will determine how many “Lumens” you want your projector to emit; for instance, a 3K Lumen projector will project a decently lit screen during shaded daylight but ultimately will provide a very satisfying picture in the evening and night times.
Projector Reviews is a website that gives a solid breakdown of all the projectors on the market: their prices, the quality of the picture they project, all the features they can tout (Blutooth, Wifi accessibility, HDMI inputs).

Facebook Marketplace and Craigslist are both affordable options to visit while shopping for sound and projector systems. In the event you are unable to run cable all over your living room, the option to purchase a Bluetooth receiver capable of being plugged into both new and old sound systems is the ideal option for you. This simple Bluetooth device allows for your projector to be synced up and will transmit the audio from selected programming through the receiver and pumped out through your speaker system.

Building Your Screen
The key to planning out your home theater setup is to have realistic expectations. While your budget may not allow you to have a basement resembling Shaq’s luxurious Texas auditorium, we can assure you that by following our simple DIY guide you can bedeck your living room to accommodate an intimate group of friends for a relaxed movie night. Listed below is a breakdown of the process we took to build a basic Projector Screen that will capture the picture emitted by your device.
Materials

In each of the four corners, we fix flat corner plates attaching the vertical stiles to the horizontal rails in order to hold the basic skeletal structure of the frame together (Picture 1). These plates won’t provide much in the way of structural support but the main goal in implementing them is to hold your frame flat with solid 90 degree angles until further support can be added. Perhaps the most essential step in creating the screen for your home theater

is to assure your screen is the correct, sharp rectangular shape that will correctly contour the four edges of your projector screen and contrast the edges of the lit image. For the middle brace, we implemented similar flat plate “T” braces to hold the middle support wood beam in place with the horizontal rail (Picture 2). This middle support beam is highly important for keeping the framework of the screen stable as you continue to add splints to make increase the structural integrity of the screen.
Luckily the hardware comes included with the Everbilt flat plate “L” corner braces, measuring 5/8 inches long and biting more than halfway through the wood for a solid connection. Any longer than this, the wood screws would run the risk of protruding through the front face of the screen frame. What you will need to purchase, however, are 1/2-inch wood screws for the “T” brace (Picture 3) as well as 1-inch wood screws to toe-nail into the attaching wood splints. Tighter threading on your wood screws will allow for them to ease into the wood without splitting the grain and cracking the boards. We recommend using brass screws, but aluminum will suffice just the same.

Concerning the wood itself, we recommend 1 inch by 3-inch pine or birch to compose the framework. Both species are strong enough to resist warping in humid climate conditions and possess a smooth exterior texture as well as a strong inner consistency. Home Depot sells these 1 x 3 wood slats in 8-foot pieces for about $2 per linear foot, so we suggest starting with measuring the width of your screen and adding in the heights of your vertical stiles and supporting beams before figuring out exactly how much wood to purchase.

Our next tip will save you a significant portion of the money on the supplies end of your expense for the theater screen. Rather than purchasing extra wood and spray paint for the exterior border of the screen, we recommend a 2-inch black felt tape to enhance the contrast between the projected image and the edges of the screen (Picture 4). This black felt tape is sold in 60-foot rolls so there should be plenty left over. As far as the hanging hardware is concerned, we used several simple D-ring picture-hangers (Picture 5). Using three or four of these will be more than sufficient to support the weight of your finished screen.

Elements of the Frame
The first step in building your projector screen is to measure out the size of your projected image, both the height and the width. For our measurements, we went to an eighth of an inch in order to build the most precise screen possible. When measuring the length and the height of your screen, add two inches to your measurements to account for the exterior edges of your screen’s frame. However wide the exterior edge will be, double those measurements to account for left, right, top, and bottom. Seeing as we are using a two inch felt liner for the border of our screen, we add four inches total to the height and width measurements taken.


Our screen is 83 inches wide, so accounting for the two-inch border our total width will be 87 inches (Picture 6). Make a carpenter’s mark and use a Carpenter’s Square to line up the other horizontal rail in order to keep your line consistent and straight for the best possible cut (Picture 7). Accuracy is highly important for your frame, and the Carpenter’s square will end up being your best friend in achieving the most accurate marks and cuts throughout the building process.
Once your horizontal rails are cut to size, lay them apart from one another the distance correlating to the height of your screen (Picture 8). Don’t forget to take into account the extra measurements that will be the border of your screen! For our screen, we added another four inches to both stiles to account for the two-inch border on the top and bottom. Since our screen is 49 and 5/8 inches, with the two-inch border on the top and bottom our total height for the screen frame will be 53 and 5/8 inches. Repeat the marking process using the Carpenter’s Square to ensure your measurements remain consistent.

Next, the flat “L” and “T” plates are affixed on the corner joints and to the middle supporting beam. The Carpenter’s Square will again be a very useful tool for this step: place the square on the inside of the frame at the corner joints in order to accomplish an accurate 45-degree angle for a reliable shapely structure (Pictures 9 and 10). Using the wood screws that come with the plates will not split or crack the wood and hold the plate tight against the surface of the wood.


Once your “L” and “T” plates are in place and holding the rails, stiles, and middle beam together as a single unit, it is time to strengthen the structure using splints made form your leftover wood. Our approach in the corners and the middle beam is to use the Carpenter’s Square to measure and cut 45-degree lines on the ends of the splints (Pictures 11 and 12). Making accurate measurements and cuts for the corner splints will ensure easy placement and attachment of the splints.


In order to attach the strengthening splints to the exterior frame of the wooden structure of the screen, we chose to toe-nail our 1-inch wood screws in from the split-side of the support. If you are not used to this specific method of tacking in wood screws, it can prove to be a bit of a challenge. First, you must hold the screws in place and start feeding the threads in slowly. Once roughly a quarter of the length of your wood screw has been threaded into the body of the wood, start turning the screw toward the outside edge of the structure and feed it straight through to the exterior frame. If done correctly, this will adequately bite the outside 1 x 3 and firmly hold the splint to the frame (Picture 13). Repeat this process on each splint until all have been attached to the screen’s wooden skeleton and the structure is solid. Feel free to practice your toe-nailing on a scrap piece of wood before attempting to do it on the projector’s screen.
For one final added measure of support, we chose to insert brass brackets in each of the four corners (Picture 14). Every detail contributes to the overall stability and makes the flatness of your frame as even as possible, so don’t be shy about adding as many different attachments as possible. The smaller the better, as it will keep the overall weight of the screen to a minimum and allow for easier transportability of your screen in the event you want to move the screen outdoors for a nighttime home cinematic experience.

Once you’ve completed the basic framework of the screen, check all rails and stiles with a level, then make necessary adjustments before moving forward to the next and final step in the screen building process.
Stretching the Screen
In order to accomplish the cleanest, most evenly stretched screen possible, lay out your chosen material evenly across the wooden frame. For our screen, we chose to use blackout cloth purchased from Joann’s Fabric Store. Priced at $5.99 a yard, this material is very affordable and will reflect a striking, resonating image upon its surface. One side of this material has a slightly rubbery texture, the other is a rougher matte texture embedded with a reflective material. Either side will suffice more than adequately as the screen surface, although many people will readily proclaim the rubber side is the optimal choice. Depending on the specific model of your projector, the distance between the screen and the projector, and the location/sources of light in your room, whichever side of the screen you use is really at your own discretion. Whichever side you choose, make sure that is the side facing up before you begin to staple the material to the wooden frame’s rails and stiles. In order to achieve a

taut, smooth screen, a very specific method in stapling the material to the wood must be followed. Just like you would tighten the lug nuts when putting on a new tire, begin with stapling the middle of the screen to the rails and stiles on complete opposite ends. As you make your way around the edges of the screen, continue to pull the screen tight and maintain the same overlap around the entirety of the screen.

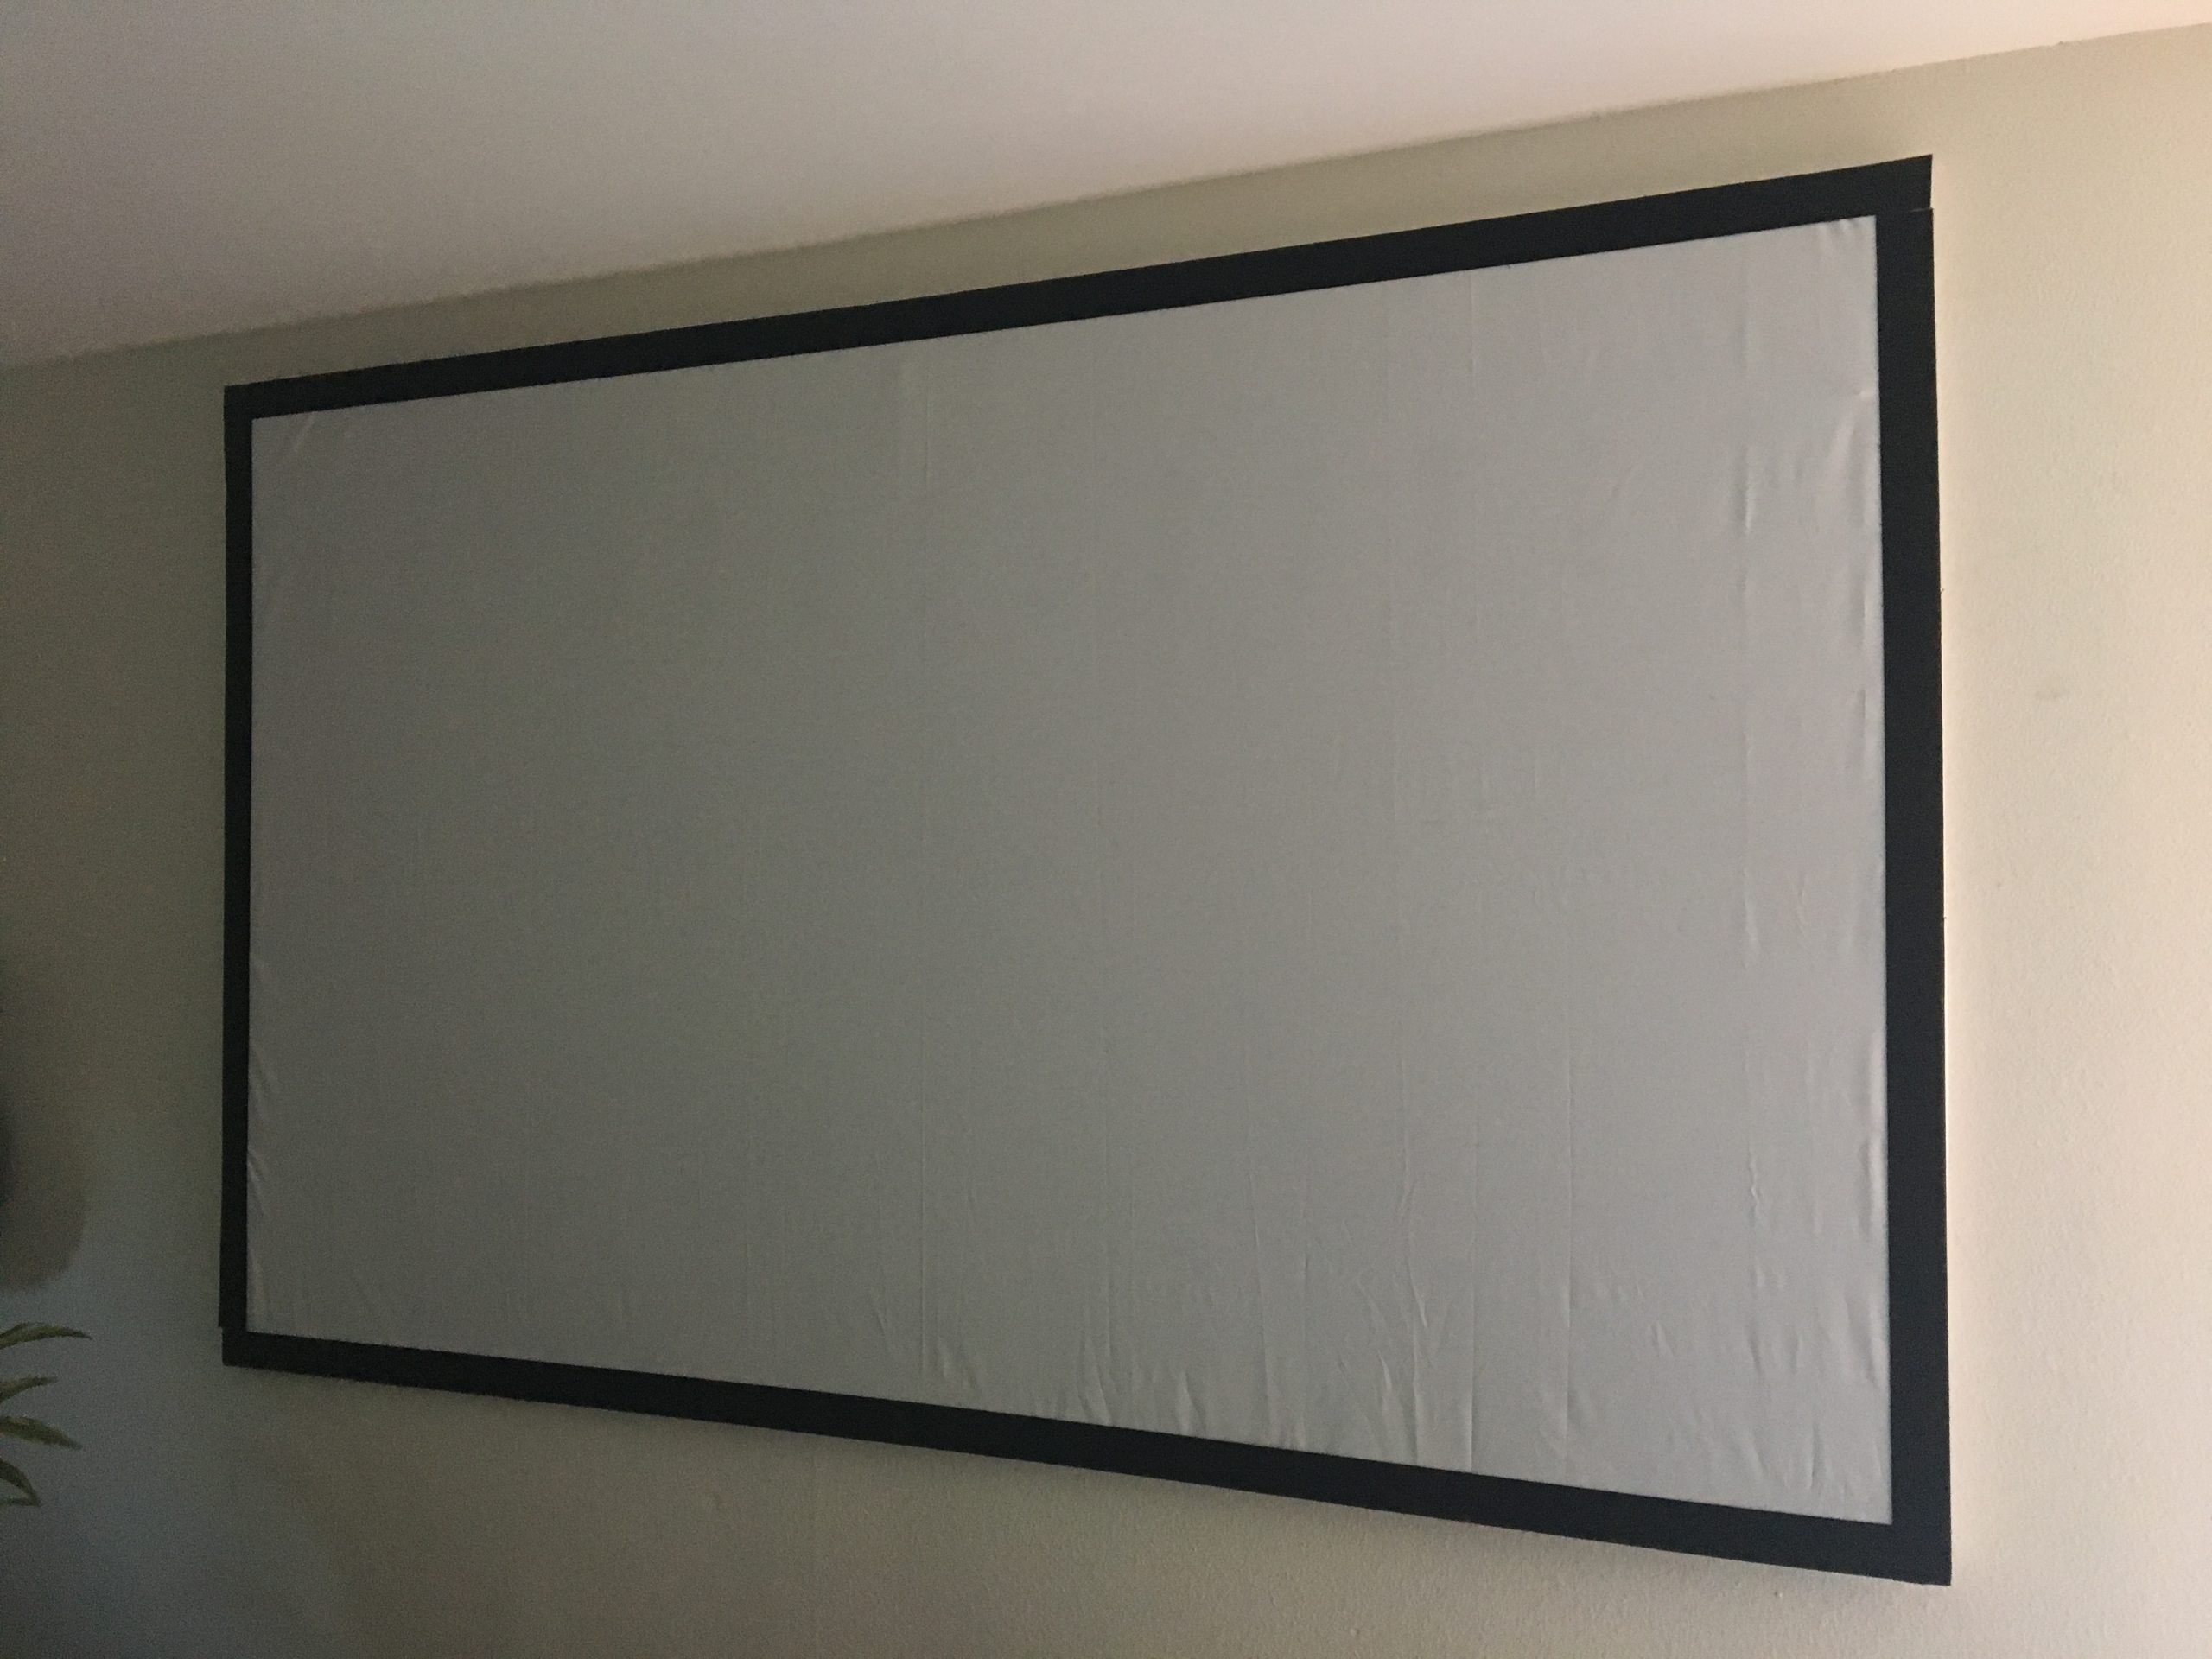
By the time you have completed stapling the entirety of the frame (space your staple 4-6 inches apart from one another), the screen will be an even and smooth surface, almost ready for viewing before the two final steps (Picture 16). The black felt tape purchased off Amazon has one adhesive side that will hold onto the material well enough, but we suggest using a gorilla glue or super glue to make sure it remains attached to the screen

(Picture 17). This felt border will enhance the contrast and give the overall look for your screen a very professional look to the point your friends and guests will mistake it for being a professionally built screen. The final step is to hang your screen on the wall using the D-ring picture hangers: simply attach them to the top corners, measure the distance between the two, place your wall-anchors the same distance apart on the wall and place the screen on them. At most your screen will weight 40 pounds (if that), so two wall-hangers will be more than sufficient. Plug in your projector, adjust the keystone, and start streaming all your favorite classics right in the comfort of your own home. We hope this tutorial has been useful, leave comments if you have any questions and we will answer them to the best of our abilities!
